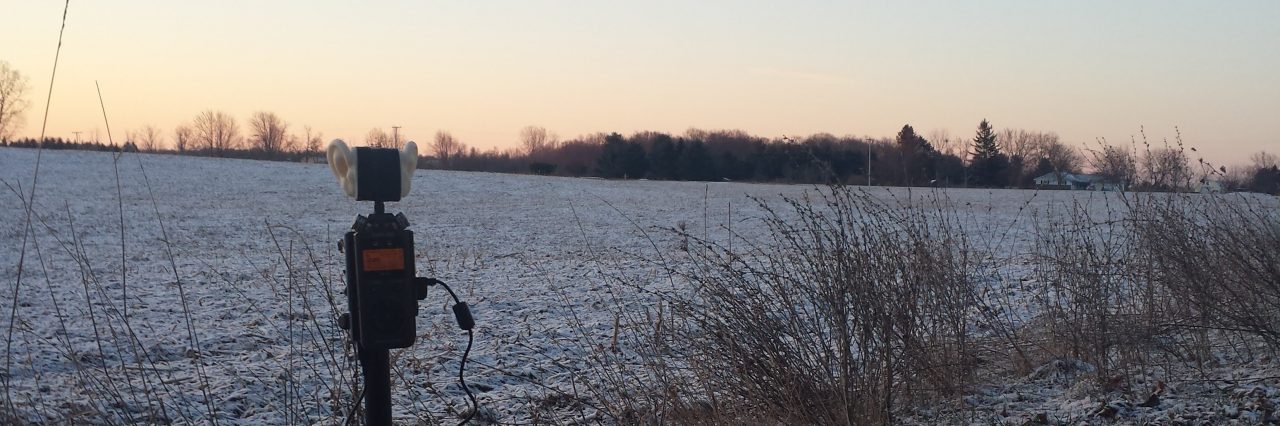
I use a variety of tools for post-processing my field recordings. Below are what I currently use. I will update this periodically as I change my workflow or learn new methods.
Last updated: 20-September-2026
Field Recording
For each situation I record, the recording level should be set so that it is not clipping, of course, but also so that there is a dynamic range. For a detailed explanation of how to capture field recordings, see my article on that: Master Field Recording: Capturing and Organizing Field Recordings.
The rest of this article assumes you have properly captured and cataloged your field recordings and are now ready to polish them into great-sounding tracks.


The Field Recording Post-Processing Workflow
I have a simple process for processing my field recordings after capture:
First, capture and organize – see my article on that here:
Master Field Recording: Capturing and Organizing Field Recordings
Then…
- Archival Master: I create an “archival master” recording entirely in iZotope RX that is technically correct and extremely dynamic:
- First, I use Waveform Stats to check the levels, and if the true peak is low, I increase the overall gain with the Gain module. I increase it until the true peak is around -3 dB. This doesn’t have to be exact.
- De-hum
- If Waveform Stats indicates a DC offset, I remove it using the De-Hum module.
- Likewise, if there is rumble, I remove that with De-Hum at the same time as removing the DC offset.
- Sometimes there is a hum that also needs removing with De-Hum, and I apply it adaptively across the whole waveform or only in spots.
- If there is wind, I use two passes of the De-wind module to remove it.
- I selectively remove clicks, pops, and other unwanted events using Spectral Repair to target only those offenders and either attenuate or replace them.
- Again looking at Waveform Stats, I make final gain adjustments, if needed.
- Now complete, this finalized archive master gets a description added after the existing file name along with an _RX added to the suffix of the name.
Creating the Archival Master
1. Waveform Stats and Gain Adjustment
First, I use Waveform Stats to check the levels, and if the true peak is low, I increase the overall gain with the Gain module. I increase it until the true peak is around -3 dB. This doesn’t have to be exact.
For example, here is the Waveform Stats for a file I recorded with too little gain:

So to raise it to a workable level where the true peaks are around -3 dB, I applied 27 dB of gain with the Gain module:

Resulting in a Waveform Statistics that looks like this:

2. De-hum Adjustments
2.1 DC Offset Removal
DC offset in field recordings is a shift in the audio waveform’s center line away from zero, and is caused by electrical mismatches, faulty A/D converters, or infrasonic rumble (low-frequency energy below human hearing) in the analog signal chain.
It is problematic because it reduces available headroom, adds a noise floor, and creates audible clicks or pops when the audio starts, stops, or is edited.
You don’t want it. De-hum can remove it. There’s a checkbox labeled “filter DC offset” in the static portion of the module that, when checked, removes the DC offset during processing.
Note the DC offset (circled in red):

To remove this, I can use De-hum. But, in this case, I also want to remove the low rumble because I can hear a low fluttering sound, so I’ll do both the removal of the DC offset and removal of the rumble in the next step.
2.2 Rumble Removal
Some field recordings have a low-frequency rumble that needs to be removed because it is distracting and not representative of what a listener would truly hear. The cause of this rumble, if present, is sometimes because of the microphones and how they respond, but it can be any number of environmental factors as well.
You have to listen to the recording to see if there is a low-frequency fluttering that shouldn’t be there. That is the rumble. It is going to be really low like something less than 60 Hz or so.
I use the De-hum module filter to only get rid of that fluttering, distracting rumble, and nothing else. If it seems to be taking too much of the low end away, I adjust the filter frequency until it sounds right to me.
The danger here is also removing the “weight” of the recording, the low sounds that should be there, such as thunder. So be careful using this and make sure you only use it when needed.
But in this case, I can hear the low-frequency fluttering sound indicative of rumble. Here’s what it looks like, but I would trust my ears more than my eyes on this one. Still, you can see it here:

Also I have the DC offset I need to remove, so I use this De-hum setting:

Note that “Filter DC offset” is checked (look at my green arrow), and that will get rid of the DC offset. The high-pass filter is on and rolling off those lows (circled in cyan), and that will get rid of the low-frequency rumble noise.
Now, my Waveform Statistics look like this:

DC offset is gone (circled in green).
Also, the track now has no rumble noise. Compare the below spectrogram to the previous one and you will see how the intensity below the 100 Hz mark is drastically reduced. This eliminated the rumble noise.

2.3 Hum Removal
De-hum is not always used for removing true humming noises – only if there is a humming noise from equipment and various other sources.
To remove noise from nearby equipment, such as a hot tub or air conditioner, I use De-hum. This can also, strangely, remove traffic noise if you use adaptive mode. I adjust my settings for this as needed, but usually use an adaptive mode as shown below.
Obviously, don’t remove the hum if that is what you are truly after in your recording, but removing unwanted hum can drastically improve recordings, to the point where new details emerge.

I want to keep the low-frequency sound in there (if it is there) because it gives weight to the recording and grounds it. It lets your ears know there is a place, and that it is wide and spacious. If I take away the low end, the recording becomes too shallow, so I keep the lows in there for depth cues. But if there are distracting pulsations, I remove them with additional equalization.
A Word About the Highs: We’ve talked about the low frequencies, but on the opposite end of the spectrum (literally) are the highs. They give directionality to the recording and let you know where things are in space. This really is the essence of the binaural effect, so I never do anything with the higher frequencies at this point.
3. De-wind for Wind Noise Removal
Wind is prevalent in both indoor and outdoor recordings. More so in outdoor recordings, obviously, but nonetheless, there is some wind-type noise in indoor as well. De-Wind in iZotope RX cures this. I can often use low amounts of reduction if there is very little wind.
Use De-Wind carefully, as it will remove low sounds from the recording. So always listen and compare before and after De-wind to make sure you’re not losing the intent or body of your recording.
I’ve had good luck with two passes of the De-Wind module:
1st, for some heavier gusts, I applied it to the whole track, and it took them out nicely.

But I was left with some low wind-related rumble, and I used De-Wind again to clear the rumble.

So you can see by the images above that the first pass was working all the way up to 1500 Hz but fairly light reduction and quite smooth, while the second pass was heavy reduction, not so smooth, and working below 200 Hz where that rumble resides.
But one thing to remember is that in taking all that out, there is almost no low end left, so if that is important for you, you’ve got to surgically remove wind, and that will be a huge pain. Unless you have thunder or some deep sounds you really want, I would use this two-pass technique.
When I have removed too much low-end, I can bring back some of it via an EQ curve like the one below.

4. Specialized and Surgical Processing of Field Recordings (optional)
Clicks and pops inevitably occur whilst recording. Usually, they are caused by pressing the buttons on the recorder and occur at the beginning and end of recordings. These can be simply trimmed by cutting out the beginning or end of the recording. Often, I leave them in to add realism to my recordings and to offer a real-world approach by letting the listener know that this was recorded by someone.
Sometimes the equipment itself may make unexpected noises as the plastic cases change temperature and stresses are relieved, with pops out of nowhere. This happened to me with my DR-08 recorder, which was especially prone to it, but I find that all recorders do this, usually due to temperature changes during recording and the plastic case relieving stresses.
Below is an example of this “case pop,” as I call it. It is a distinctly plastic sound. Here, I used ambience matching in RX to remove it. Ambience matching is where I take a nearby segment and “learn” then select my pop region and render it there. The offending pop region then matches the surroundings, and the pop is effectively attenuated with little or no discontinuity.
I’ve found that the Spectral Repair module works well at removing rustling and popping-type noises in specific spots (not overall). I either attenuate, replace, or replace with a pattern using this module. I make selections very specifically by frequency and time, so I do not remove wanted items.


Wind noise hitting the microphones lives in an area generally below 500 Hz in most cases. If it is there, then you can remove it through this tedious process of selecting and repairing.

I use the Spectral Repair module to surgically remove it. I have to select each region with the noise to remove it. If I select the wrong area, such as a broad area, it will not work as well. See the video below.
5. Final Gain Adjustments
Now I look again at Waveform Statistics and make final gain adjustments. Normally when recording events, I try to keep the peak level that I will encounter at around -12 dB in my recording device (a Tascam DR05XP in this case), so now I can use the Gain module to do that if necessary.
For one particular file, I have this level as shown below:

This is a bit lower than I’d like, so I use the Gain module to raise it linearly up by 4 dB until it looks like this:

This is now more representative of what I heard, with my ears, while recording it.
6. Storing the Archival Master
When I store the archival master recording, just finished, I put it in the same folder along side the original. I don’t change the name of the original. The name of this archival master is the same as the original, so when I save it I add descriptive terms to it. I also finish it with an “_RX” on the end of it.
The format I use is a 32-bit wave file. This allows the full dynamic range of the recording to be preserved in its entirety. This file can then be used in a DAW for further processing and distribution.
Storing Other Versions
Optimization or standardization are other potential options for further processing of audio files with RX and I will sometimes do this.
In these cases, I use a different suffix for these such as these below:
“_RX-OPT” for an optimized output with compression to raise levels, etc.
“RX-BS1770234” for a file adjusted using Loudness Control to a standard such as BS1770 2,3,4.

However, these type of adjustments all compromise the dynamic range of the recording, so they are always stored with different suffixes and are not as valuable as the archival master.
15 responses to “Master Field Recording: Post-Processing Techniques for Field Recordings”
[…] Equalization is important. I have another post only about equalization. […]
[…] EQ through my Fabfilter Pro-Q program ran as a plug-in in […]
[…] Equalizing Field Recordings […]
… reposted this!
… reposted this!
… reposted this!
… reposted this!
… reposted this!
… reposted this!
… reposted this!
… reposted this!
… reposted this!
… liked this!
… liked this!
[…] Master Field Recording: Post-Processing Techniques for Field Recordings […]